
How to roast coffee for pour over
Executive summary
Roasting coffee for pour over is an art form that requires accuracy and an understanding of the characteristics of coffee beans. To achieve the perfect cup, it is important to choose the right roasting degree, fine-tune the roasting process and customize the brewing. This article provides a detailed guide to roasting coffee for pour over, including background information, step-by-step instructions and tips to take your coffee hobby to the next level. If you’d rather learn about
Background information
Pour over coffee is a brewing method that focuses on precision and control over the brewing process. This method originated in Japan and has become popular worldwide due to its ability to bring out the nuanced flavors of coffee beans. One of the keys to achieving an outstanding pour over is to use beans that are roasted specifically for this brewing method.
The pour over method involves pouring hot water slowly and evenly over ground coffee beans in a filter. This allows maximum contact between water and coffee, resulting in a clean, clear and aromatic brew. To maximize the flavour in pour over, it is important to understand how the degree of roasting and roasting profile affect the end result.
Why choose light grate for pour over?
Light roasted beans are usually the best choice for pour over coffee because they preserve more of the original flavors and aromas of the coffee beans. These flavors can include fruity, floral, and acidic notes that are often lost in darker roasts. Light roasting emphasizes the terroir of the coffee, allowing subtle differences to be tasted depending on the origin of the beans.
Step-by-step guide to roasting coffee for pour over
1. Choose the right beans
- Origin: Choose beans from regions known for their fruity and complex flavors, such as Ethiopia, Kenya or Colombia.
- Processing method: Beans processed by the wash method tend to have a cleaner and more nuanced flavor profile, which is ideal for pour over.

2. Preparation before roasting
- Equipment: Invest in a high-quality coffee roaster, a scale, a timer and a cooling plate to quickly cool down the beans after roasting.
- Amount of beans: Start with small batches, around 100-200 grams, to have better control over the roasting process.
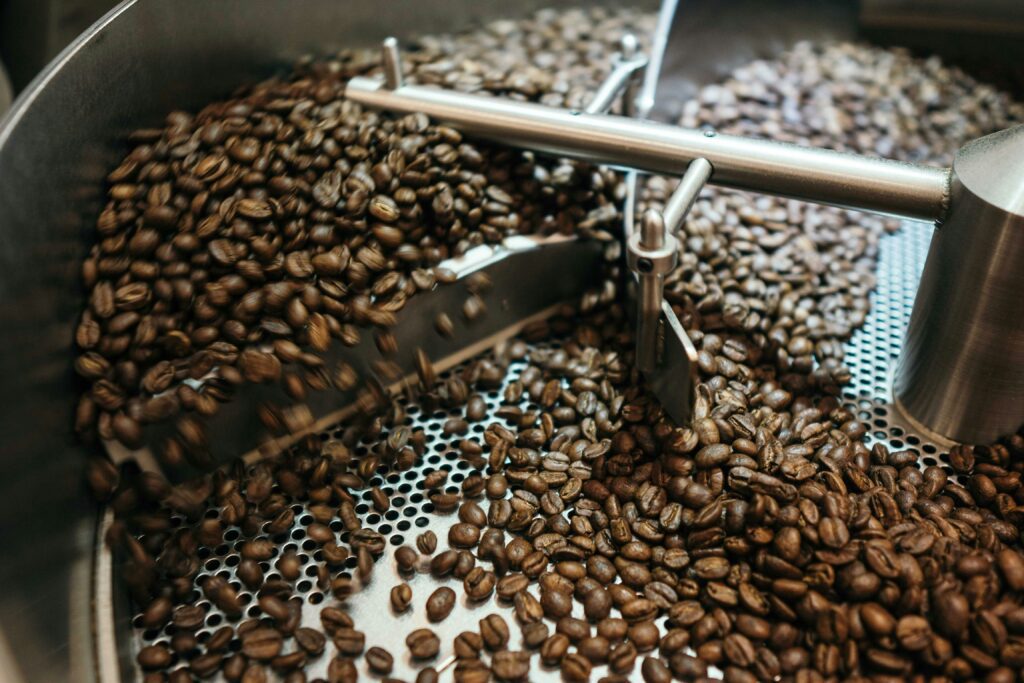
3. The roasting process
- Preheat the roaster: Preheat your roaster to around 200°C to ensure an even start to roasting.
- First phase: Drying: This phase lasts for about 4-6 minutes. The beans turn from green to yellow as they lose moisture.
- Second phase: Maillard reaction: This is where the taste and color of the beans develop. The temperature should be between 160-180°C and this phase lasts for about 4-6 minutes.
- Third phase: Development: Here the first crack occurs, indicating that the beans are starting to roast properly. For light roasts, finish roasting shortly after the first crack, when the beans have a light brown color and a complex aroma.
4. Cooling and resting
- Rapid cooling: Use a cooling plate or spread the beans out on a tray to cool them quickly and stop the roasting process.
- Rest: Let the beans rest for 24-72 hours to allow gases such as carbon dioxide to be removed and for the flavors to stabilize.
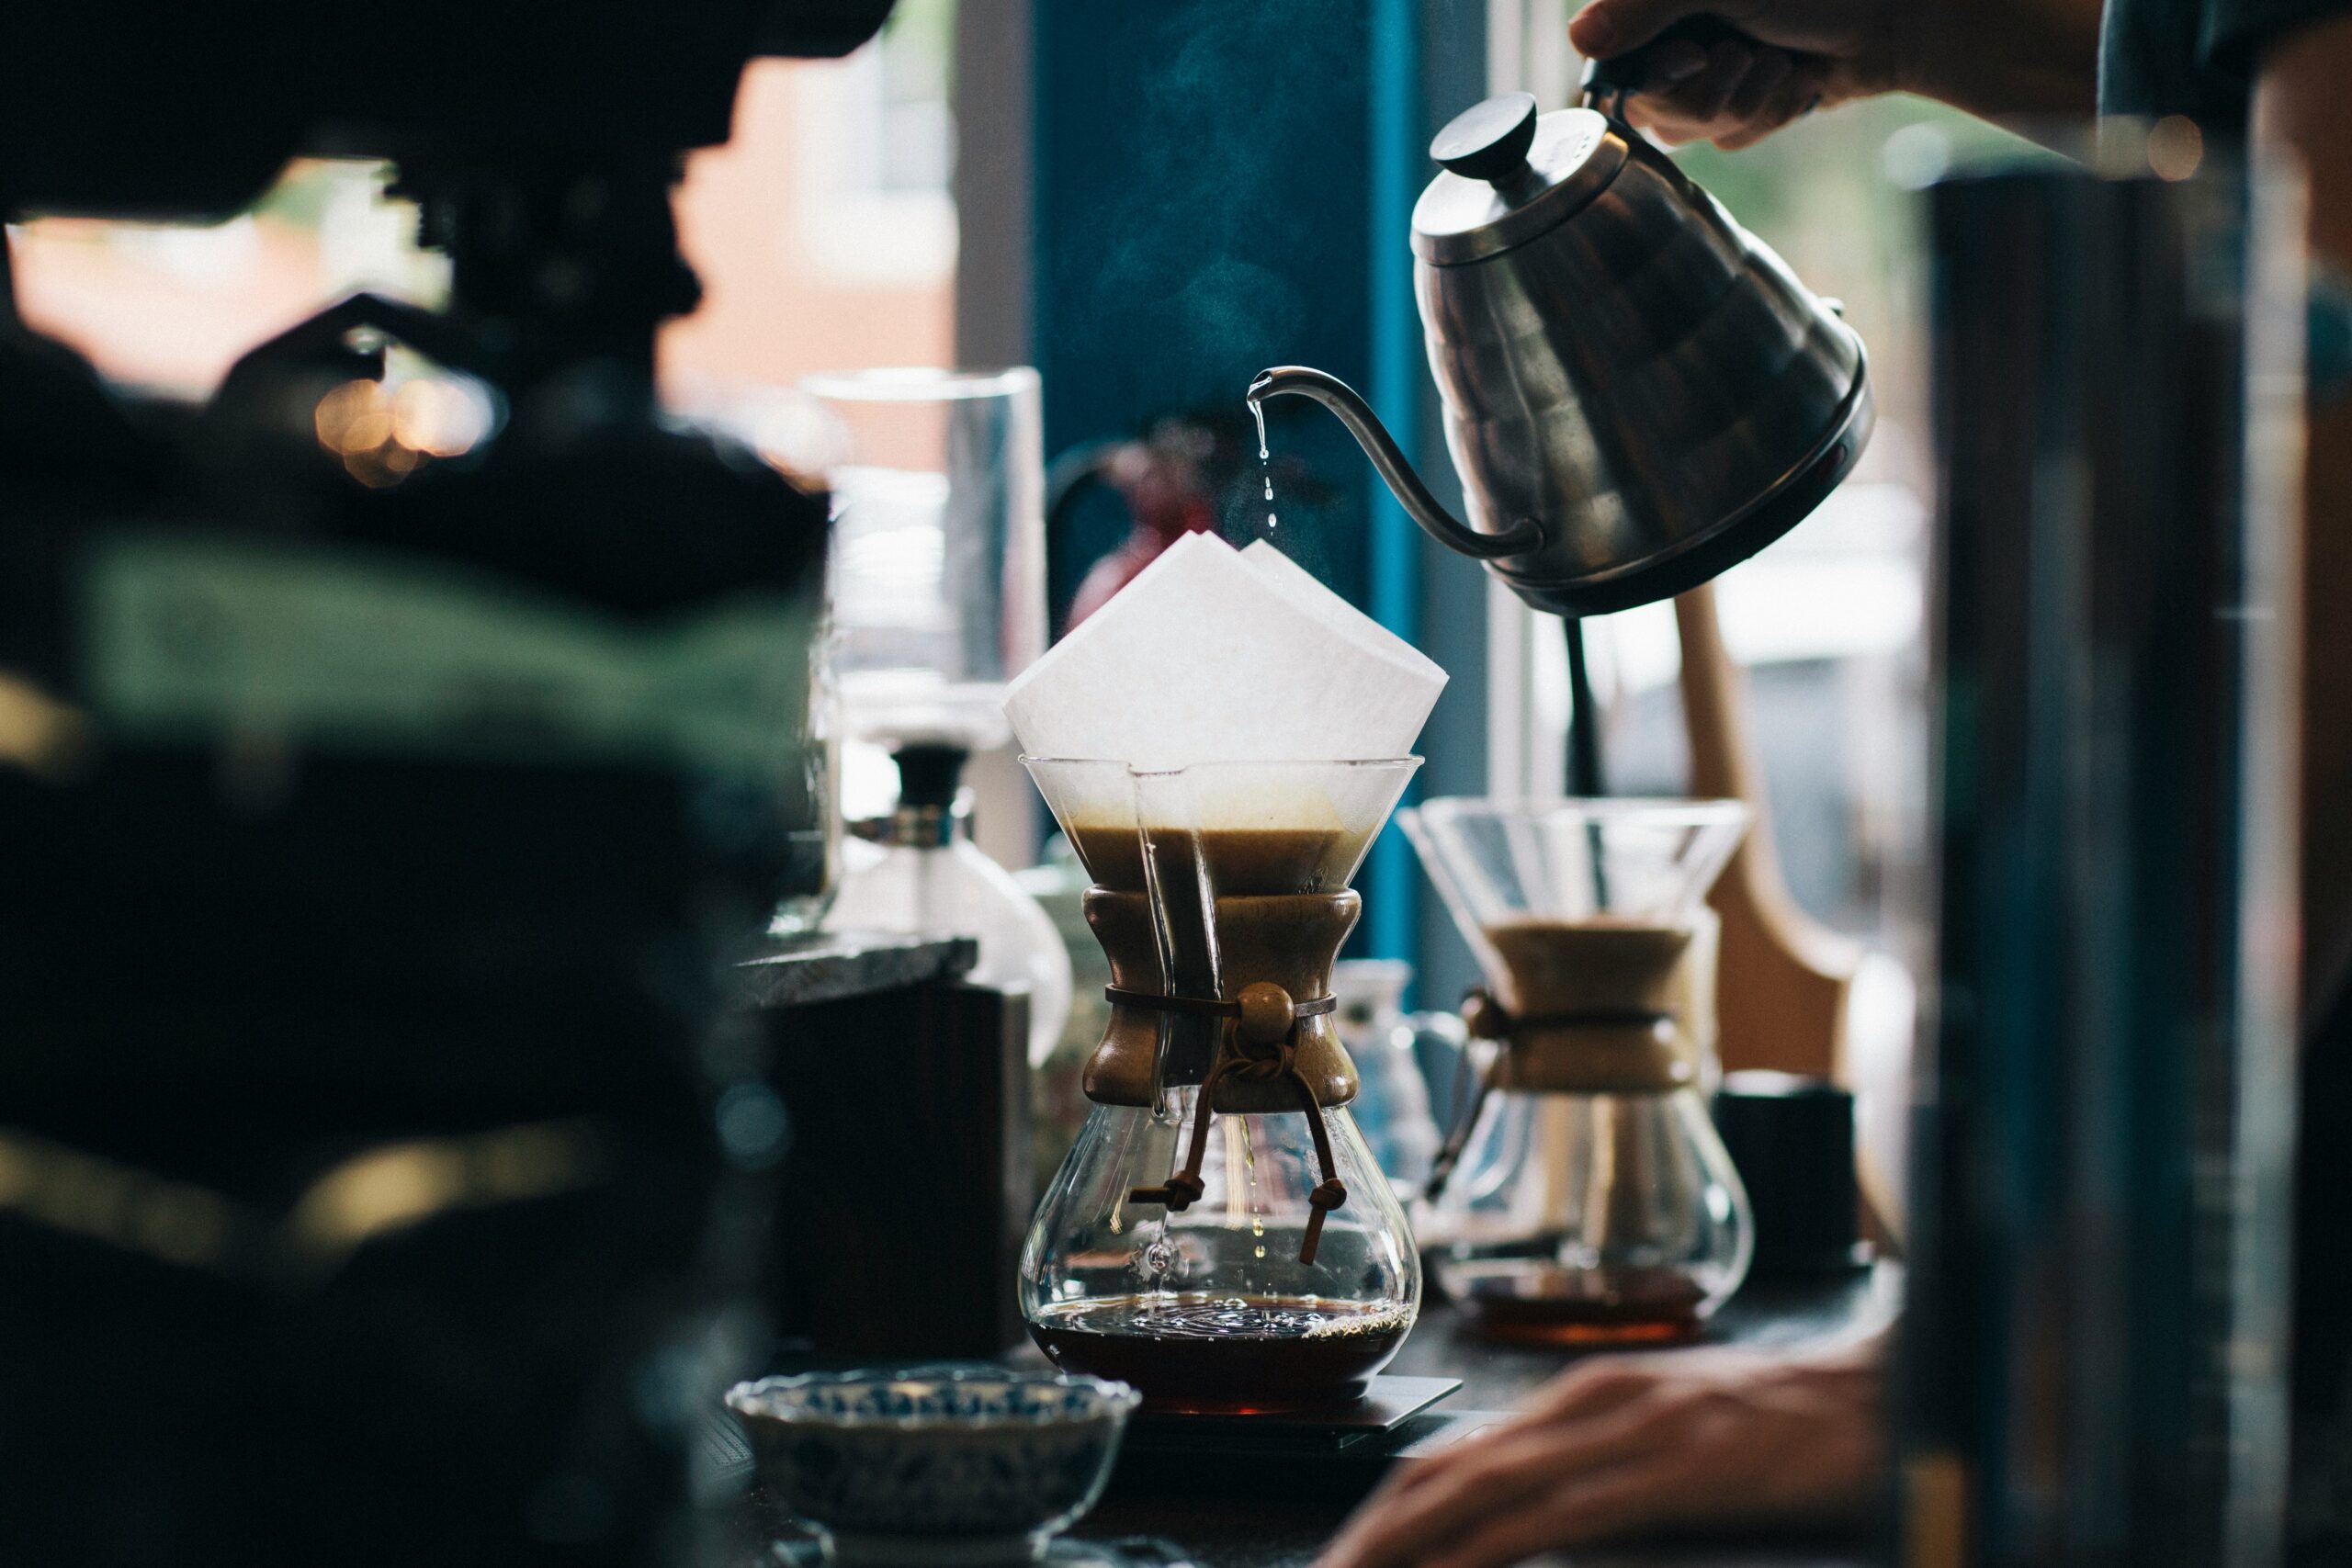
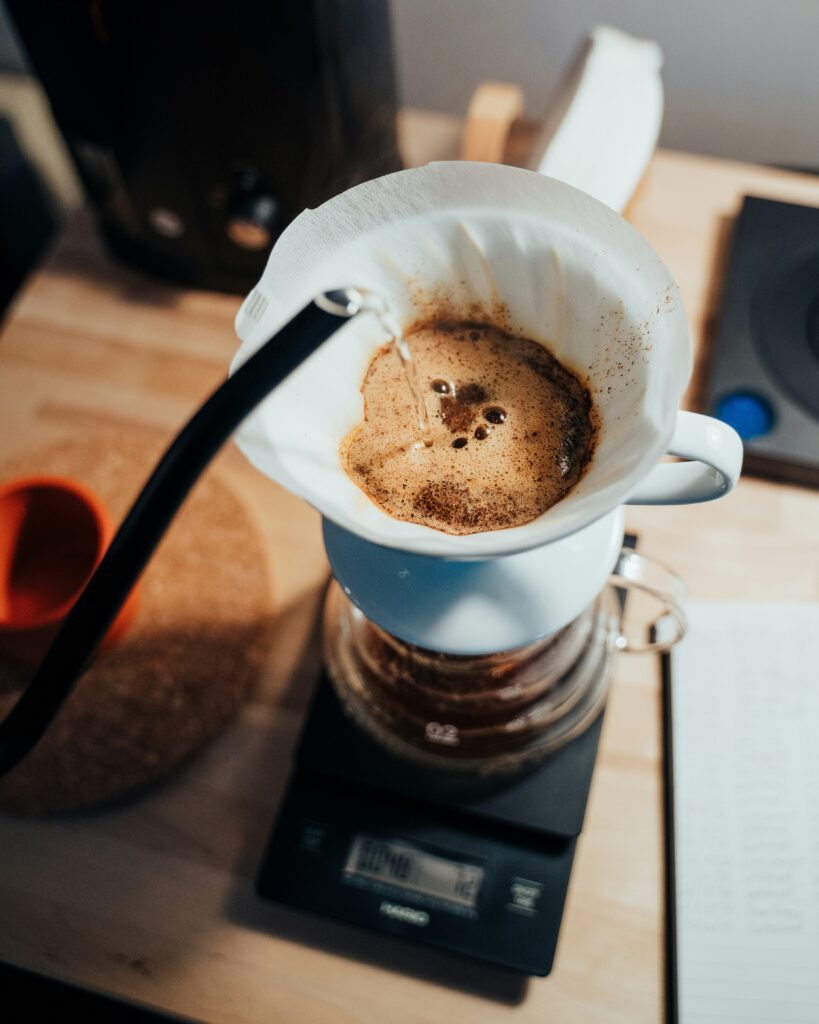
5. Brewing
- Grinding: Grind the beans to a medium consistency, similar to table salt.
- Brewing technique: Use a pour over dripper like the Hario V60 or Chemex. For a standard brew, use a dose of 15-18 grams of coffee per 250 ml of water.
- Water temperature: The water should be between 90-96°C for optimal extraction.
- Brewing method: Start by floralizing the coffee by pouring a small amount of water over the beans and let it stand for 30 seconds. Then continue pouring water in a slow, circular motion to ensure even extraction.
Tips for taking the next step
Experiment with different origins and degrees of roasting
Try beans from different regions and experiment with different roasting levels to find your favorite flavors.
Invest in better equipment
Consider upgrading to a more advanced coffee roaster or a higher-precision coffee grinder to get better control over roasting and grinding. You can also learn more about how to store your coffee after roasting.
Join coffee communities
Join online forums and local coffee clubs to exchange tips and experiences with other coffee enthusiasts.
Document your results
Keep a roasting diary where you note all the variables and results of each roast. This will help you learn from your experiences and improve your technique.
Learning from the pros
Read books on coffee, follow blogs and videos from professional roasters and baristas to gain deeper insights into the world of coffee.
Conclusion
Roasting coffee for pour over is both a science and an art. By understanding
If you want to read more about roasting coffee suitable for Pour Over, read the following:
Roast coffee Colombia Dulima EP10
Roast coffee from Sidamo – Ethiopia
Roast coffee from Yirgacheffe – Ethiopia
You can also learn more about the coffee bean here.
-
Product on sale
 Ethiopia Sidamo Awash River Natural – Raw coffee79,00 kr – 189,00 kr
 -
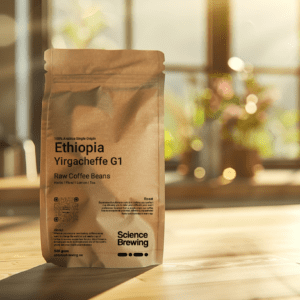
Ethiopia Yirgacheffe G179,00 kr – 209,00 kr
-
Brazil Eagle Monte Carmelo Cafe Delas – Women – raw coffee74,00 kr – 700,00 kr


Leave a Comment
Your email address will not be published. Required fields are marked *
You must be logged in to post a comment.